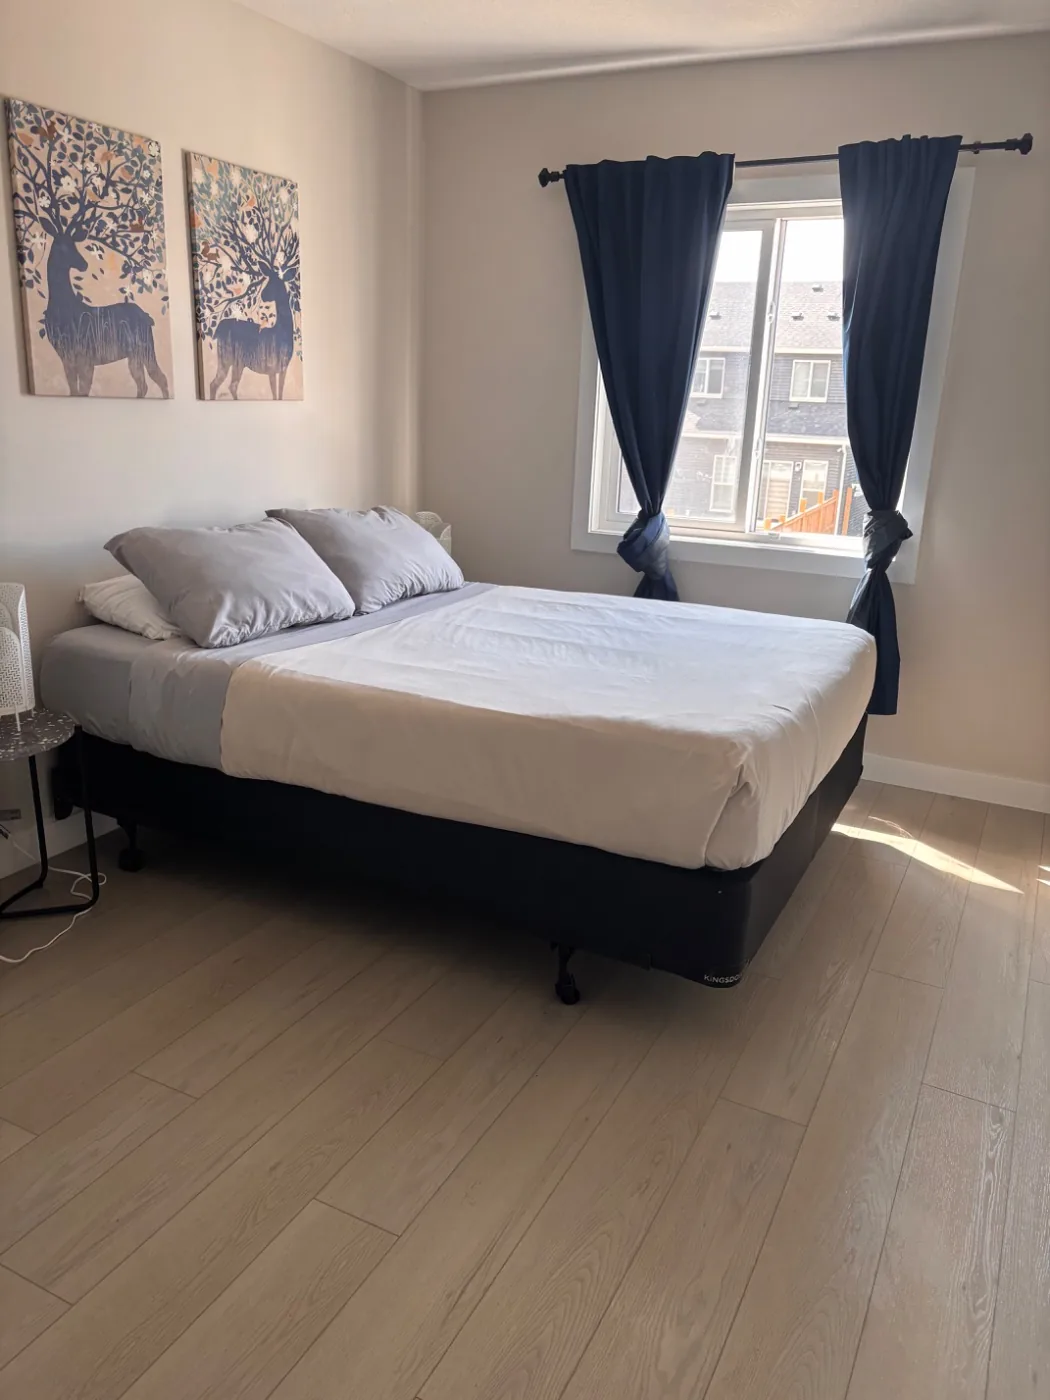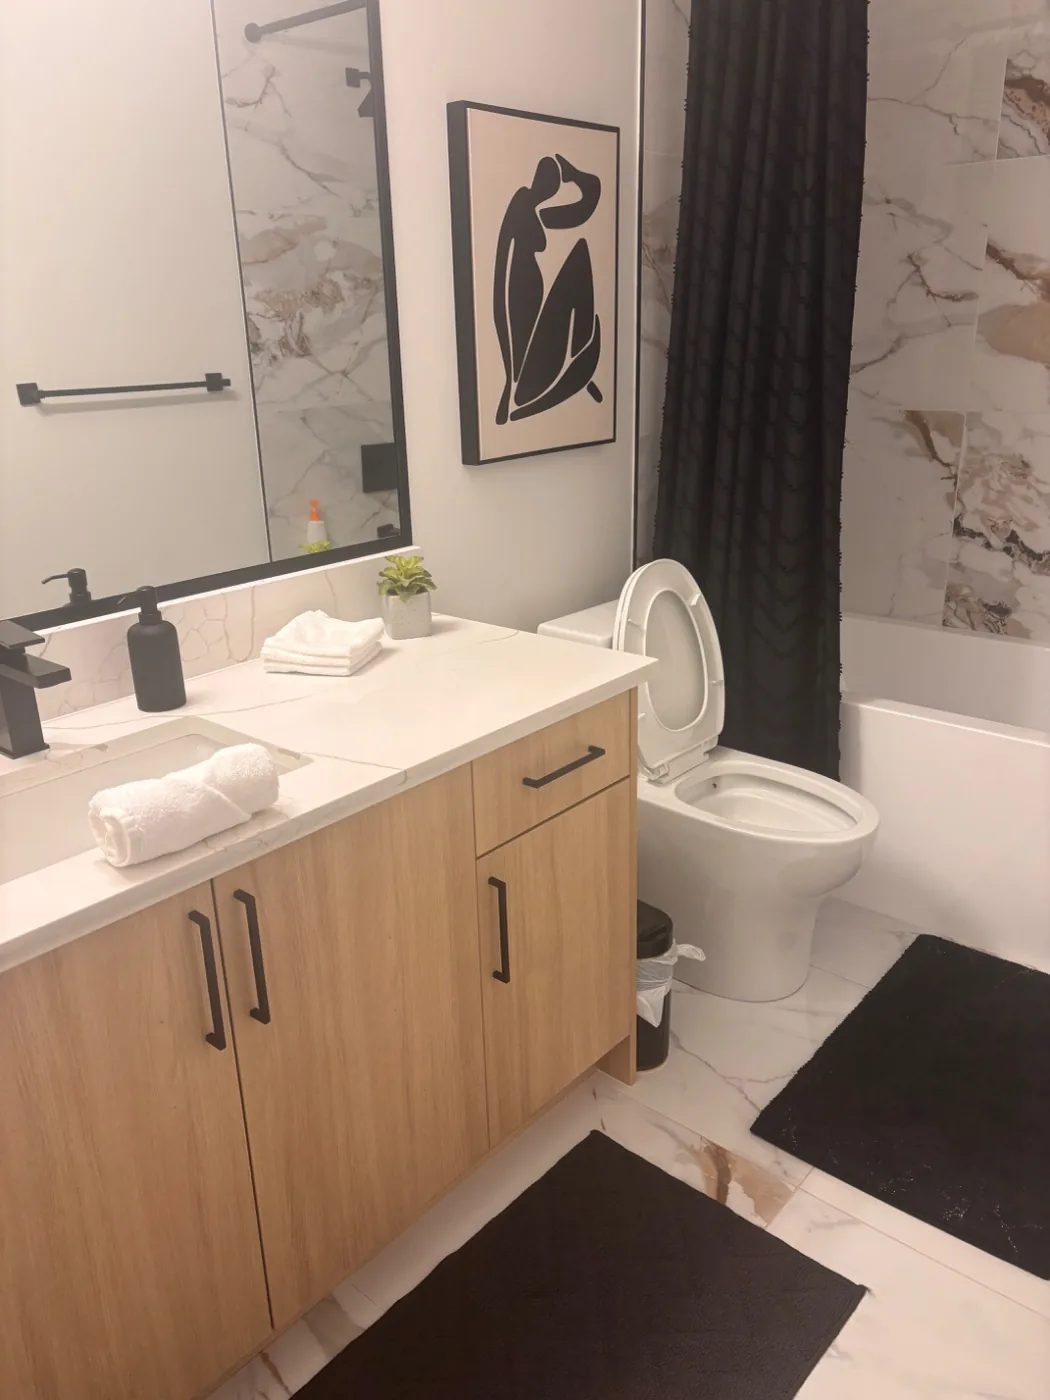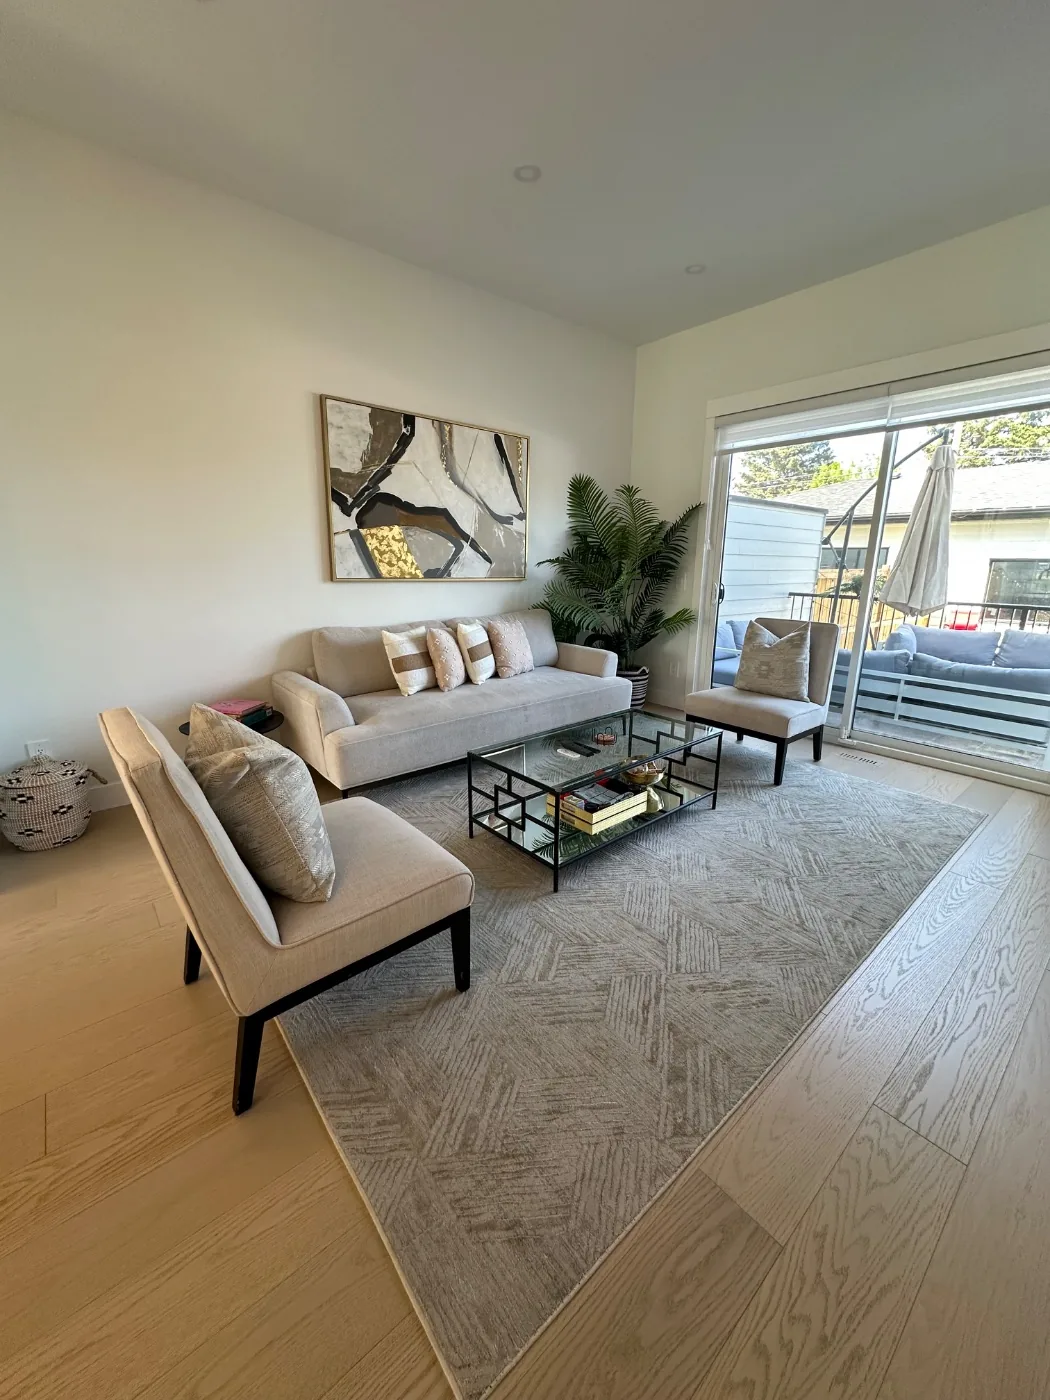
A listing photo day cleaning checklist should cover streak-free glass, grout, baseboards, vents, fixtures and floors, because wide lenses and bright light exaggerate them. In Calgary, clean first, stage second, and shoot in daylight with the lights on. Finish with a quick touch-up of floors and glass right before the photographer arrives.
A listing photo day cleaning checklist is a short list of the surfaces that cameras punish: glass, grout, fixtures, baseboards, vents and floors. Wide lenses, bright flash and high resolution show smudges that nobody notices in person. This checklist is written for Calgary agents and sellers who want the home ready before the photographer walks in.
What Should a Listing Photo Day Cleaning Checklist Include?
It should include every surface the camera will see up close, plus the detail areas that look worse in a photo than in person. Start with the rooms that matter most in listing photos: the kitchen, the primary bathroom, the main living space and the entry. Then work outward to bedrooms and secondary spaces.
Before any cleaning starts, the seller should declutter. Photos with fewer objects need fewer surfaces to be perfect, and a cleaner can only wipe what is reachable. Put personal items, small appliances and extra decor in a closet or a box, and clear the kitchen counters down to one or two staged pieces.
A good checklist is room by room and surface by surface. Our 33 point cleaning checklist uses the same approach, and the pre sale cleaning guide for realtors explains how photo day fits into the wider listing timeline.
Kitchen and Dining Checklist
Kitchens are the most scrutinized room in listing photos, so they need the most attention. Cameras catch fingerprints on stainless steel, crumbs in corners and film on glass cooktops.
- Wipe counters and backsplash, and remove everything not part of the staging
- Polish the sink and faucet so there are no water spots
- Clean appliance fronts and handles, and check the range hood
- Wipe cabinet fronts, especially around handles
- Sweep and mop floors, including corners and under the table
Bathroom Checklist
Bathrooms photograph badly when grout, glass and chrome are not spotless. Soap scum and mineral spots show up as grey haze under bright light, and a single hair on white tile looks enormous at full resolution.
- Scrub grout lines, tub and shower surfaces, and shower glass until streak-free
- Polish faucets, shower heads and towel bars
- Clean the vanity, sink and mirror, and check the mirror’s edges
- Wipe the toilet base and behind it, and check the exhaust fan cover
- Mop the floor and check the corners
Living Areas, Bedrooms and Entry
In living spaces, the problems are dust, streaks and visible floor traffic. Cameras look along baseboards and across floors, so these show up as lines of grime.
- Dust baseboards, door frames, switches and ceiling vents
- Clean interior glass, patio doors and mirrors in natural light so streaks are visible
- Vacuum carpet in clean lines and mop hard floors edge to edge
- Wipe light fixtures and ceiling fans where reachable
- Make beds crisply and check under-bed and bedside surfaces
Details That Photograph Badly
A few small details cause most photo-day regrets. This table lists the usual culprits and the fix.
| Detail | Why It Shows | Fix |
|---|---|---|
| Streaky glass | Light rakes across windows and mirrors | Clean in daylight and buff dry |
| Dirty grout | Dark lines frame every tile | Scrub, then rinse and dry |
| Dusty baseboards | Floor edges are on camera | Wipe the full length |
| Vents and fans | Ceiling shots show dust | Wipe covers and fan blades |
| Fixture spots | Chrome reflects every mark | Polish and dry |
| Floor footprints | Bright light shows marks | Final vacuum or mop last |
Photographers also shoot from corners and doorways, which means every angle of a room is visible. Cameras also catch pet hair and crumbs in corners that people overlook. Walk each room from the doorway and from the far corner before the shoot, and look along the floor edges, the glass and the ceiling line. If something catches your eye, it will catch the lens.
Sequence: Cleaning, Staging and Lighting
The right order is declutter, clean, stage, touch up, then shoot. Cleaning before staging means you do not disturb the setup, and a final touch-up covers footprints and handled items. Do the deepest work the day before and the final touches the morning of. A simple timeline looks like this:
- Two or more days before: seller declutters, repairs are done and a deep clean is booked.
- Day before: deep clean, then staging touches once the cleaners leave.
- Morning of: touch up floors, glass, fingerprints and bathrooms, then turn on lights and open blinds.
- Before the photographer arrives: final walk through of every room.
For lighting, open blinds, turn on all the lights and shoot when the sun is not directly on the glass. In Calgary winters, low sun and short days make smudges more visible, so check windows and mirrors at the time of day the photographer will shoot. If the home is empty, see our vacant home cleaning guide, and for the standards sellers should expect, see the difference between deep and standard cleans.
What We Do at CleanStays
We offer pre-sale deep cleans for realtors, using a 33 point room by room checklist and time stamped photos of every room on rental work. Our deep cleaning service is priced by bedroom count, from $210 for a studio or one bedroom to $450 for five or more bedrooms. You can send the seller our guide to preparing for a cleaner and then get an instant estimate for the listing.
Sources: CleanStays published starting rates for deep cleans, as listed on cleanstays.ca, read Nov 3, 2026. The checklist is general guidance. Confirm scope, timing and access with your cleaner and photographer.